Navigate
Wasp Helpdesk
  • Register

  • or
  • Login
    Need a password reminder?
or
Contact Us
  • Get in touch

    Send us an email

  • Start a chat session

  • Knowledgebase Read help articles
  • News News & updates
  • Contact Us We are here to help
  • Training View our options
  • Product Sunsets Non-Supported Products
Barcode System Consult
Barcode Printer Consult
Barcode Label Consult
  • Portal
  • Knowledgebase
  • Hardware
  • Printers
  • WPL612 WPL610 WPL608 Printer Resources
Subscribe Download PDF

WPL612 WPL610 WPL608 Printer Resources

Sicaro Burnett
2023-01-20
in Printers

WPL612 WPL610 WPL608

WPL Driver:  Printer driver for most Wasp WPL printers
DiagTool:  WPL Printer Diagnostic Tool (DiagTool)
 Manuals: 

WPL608/610 Manuals

WPL612 Manuals


Images:

6xxribbon1.JPG 6xxLabel1.JPG
WPL6xx%20Label%20Sensor.jpg WPL6xx%20peel%20sensor.jpg


Poor Print Quality


Poor Quality > Ribbon & media is loaded incorrectly * Reload the supply.
Gray Line on blank label > Dust or adhesive accumulation on the print head.

* Clean the printhead.
* Clean the platen roller.

Poor Quality > Print density is not set properly. Run printer self-test and check the print head test pattern if there is dot missing in the pattern.
Poor Quality > Printhead element is damaged. Repair    
Poor Quality > Ribbon and media are incompatible. Change proper ribbon or proper label media.
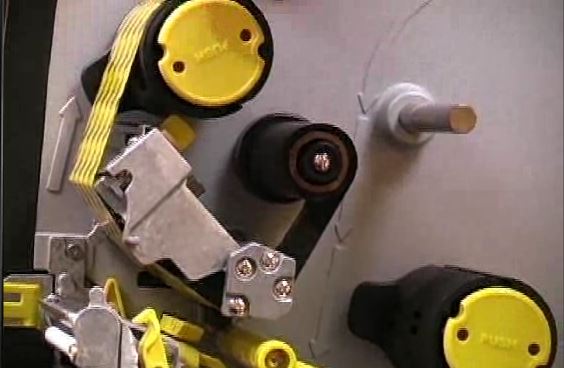
Wrinkle problems > The printhead pressure is not set properly Adjust the printhead pressure adjustment knob.  Use the Z-axis adjustment knob to fine tune the pressure.


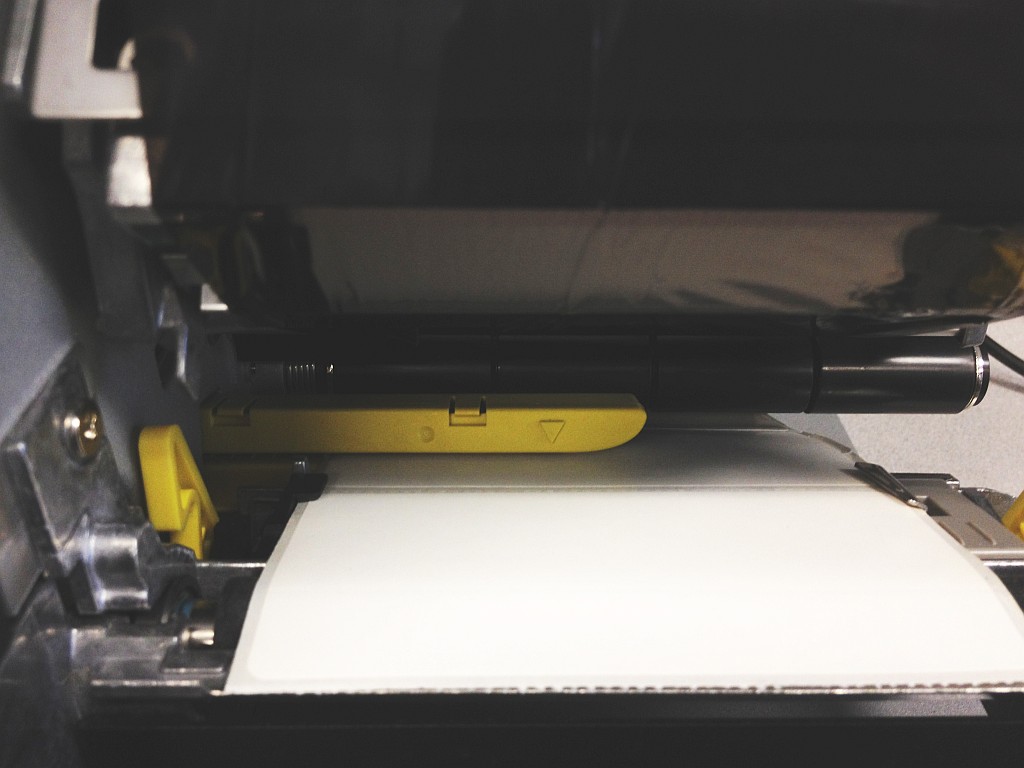
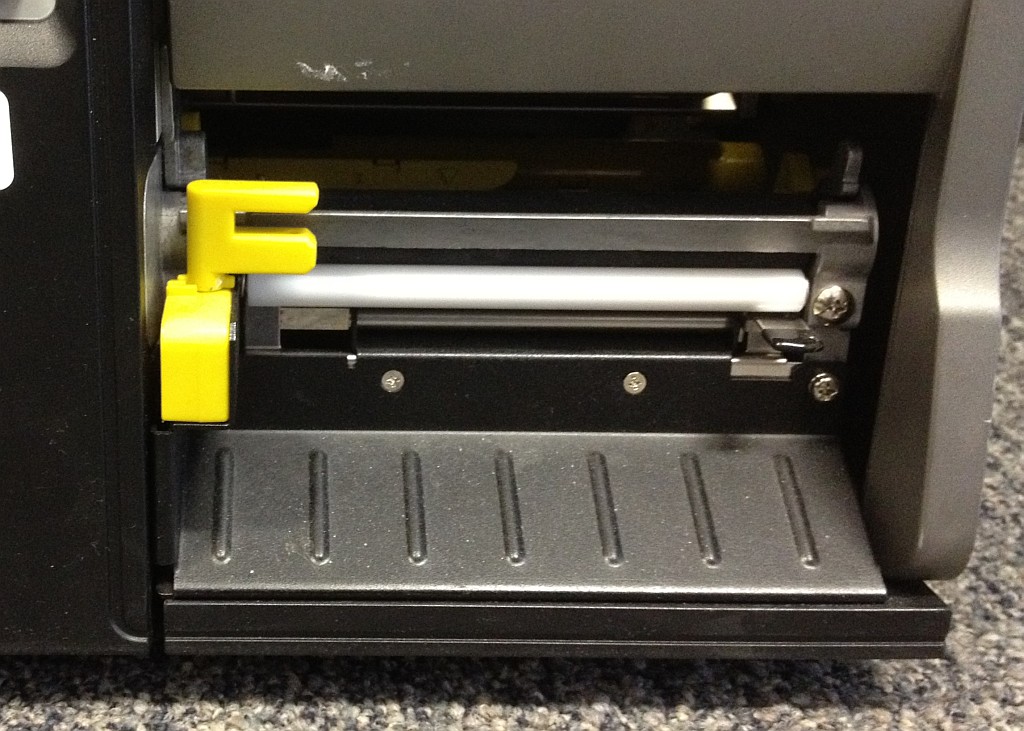
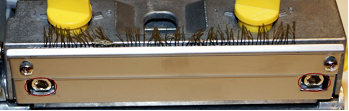
Print Head Pressure Adjustment Knob


 pressureknob.png

Because the printer’s paper alignment is to the left side of mechanism, different media widths require different pressure to print correctly.

If width is 4” adjust both knobs. If width is < 2", increase the left side clockwise and decrease the right side counter-clockwise to 1.


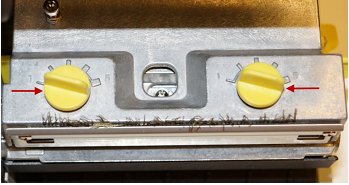
Print Head Burn Line Adjustment Knob


 burnlineknob.png

The print head burn line adjustment knobs are used to fine tune the print quality for different thickness of media. Turning the knobs adjusts the print head’s burn line forward or backward as it relates to the platen roller.

Caution: Incorrectly adjusting these knobs can lead to poor print quality and may cause damage to the printer.

On the WPL612 the screws have recessed hex heads for an Allen wrench or hex driver. On the WPL610 and WPL608, the screws are slotted for a flathead screwdriver.

Resetting the burn line knobs:
 
a. Tighten (clockwise) the Burn Line Adjustment Knobs until they won't move anymore. Don't overtighten.
b. Loosen (counter-clockwise) 3 full turns (360 degrees per turn)
c. Do a test print of a solid area over the entire area of the label.
d. To improve print quality if needed, make adjustments and do a test print to see results. Turn both knobs a small amount, such as a quarter or half turn (both knobs in the same direction). If print quality is worse, go back the other direction. If it's better but not enough, keep going in that direction until you get a good print.
e. If there are curved stripes, loosen the Burn Line Adjustment Knob on the side with the most stripes. Usually a quarter turn is sufficient to correct this.

Rate the quality of this page

This page was helpful :) :( This page was not helpful

6 of 12 people found this page helpful

Related Pages

  • Printer User Manuals, Programming Reference Guides, Quick Reference Guides, Quick Start Guides (multiple models)
  • WPL308 Printer Resources
  • Wasp WPL Label Printer Installation & Troubleshooting
  • DiagTool: WPL Printer Diagnostic Utility
  • Printer driver and calibration steps for most Wasp Printers

Quick Jump
  • Wasp Helpdesk
  • Knowledgebase
  • News
  • Contact Us
Top
Helpdesk software provided by Deskpro