

Issue: Install process for AssetCloud or InventoryCloud On-Premise Software
Performing an Install or Upgrade? The following are the full install instructions. If you're performing an upgrade from a previous version, the process is exactly the same as a full software install. However, it is advised to make a backup of the database prior to doing so. If you are upgrading, many of these steps will likely have already been performed. However, we advise that you still go through all the steps in case something has changed.
Preparing to Install
*Note: These install instructions are not merely recommendations.
Unless specifically noted, these are not optional.
Each of these steps are necessary to prevent errors during and after the install.
Read each step carefully and complete the steps as described before moving on to the next step.
There is an "After Installing" section, which includes software activation. DO NOT skip this step.
You will have 45 days from the install to activate the product before being locked out.
1. System Requirements
Operating System: 64-bit, Windows 11 (Pro or higher), Windows Server 2016 (or newer)Cloud On-Premise is not compatible with the Home or Standard editions of Windows 10 or 11. It is compatible with Standard editions of Windows Server.
Free Disk Space: Min. 120GB HD Space, 256 GB recommended (on the standard c:\ Drive)
Processor: Min. i7 2.8 GHz
1 LAN card (Typically static IP address)
JavaScript must be enabled in web browser when accessing the web interface.
It is strongly recommended that your anti-virus be disabled while the installation is running.
Allowing the anti-virus to actively scan all of the files during installation will cause long delays during the process and may cause parts of the installation to fail by timing-out.
**Note: There is a known issue with Windows 11 and SQL when using NVMe SSD hard drives. For more information, please refer to:
https://support.waspbarcode.com/kb/articles/1716
2. Verify the PC is NOT a Domain Controller
AssetCloud and InventoryCloud On-Premise should not be run on a Domain Controller.
3. Verify Local Admin User
The logged in Windows user who is performing the install must have local admin rights.
Previous versions of the installer required the logged in Windows user performing the install to be a Local Admin (not a member of the domain). The most recent versions of the installer do not share this requirement. As long as the logged in user is has local admin rights on the machine, they should be able to successfully install the software.
4. Verify PC Name
When the software is installed, the PC it is installed upon will act as a web server hosting a website on that PC. The URL will be something like http://PCNAME:8702Where “PCNAME” is the name of the PC you are installing the software on.
- If you would like the URL to be different, rename the PC accordingly (before installation).
- If the PC Name is longer than 15 characters, this will need to be shortened.
- PC Names longer than 15 characters will not function properly.
5. Download the most recent installer
The disc from the box may have been burned at any time. The download link provided by your support or sales agent will be the most recent installer*Note: Access to the latest installer does require a current support subscription for your yearly maintenance agreement. Because of this, you may be asked for a copy of your proof of purchase (invoice or receipt) to verify your purchase.
6. Unblock the Zip file
Right-click on the zip file, select “Properties”.If “Unblock” is present, check that check box (or click the button), then select “Apply”
If this is not done, the zip file will not contain all of the necessary files for the install.
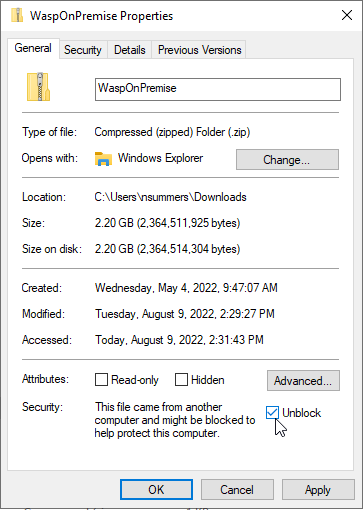
If “Unblock” is not present in the properties as shown above, then the file is already unblocked.
7. Extract the Zip file to the C:\ Drive
Many Downloads folders and Desktops are now on network drives (which can cause issues when installing SQL). Additionally, if troubleshooting must be done, this may require command-line work. The best way to prevent extra work is to extract the zip to the c:\ drive.
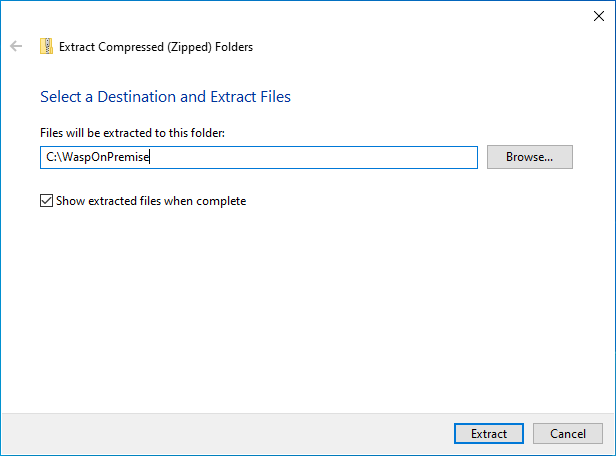
**Note, this is just the location of the installer, not the location the software will be installed.
8. Install the IIS Prerequisites
The following article covers the steps for installing the IIS Prerequisites:https://support.waspbarcode.com/kb/articles/1525
9. Set the PowerShell Execution Policy
The following article covers the steps for setting the PowerShell Execution Policy:https://support.waspbarcode.com/kb/articles/1510
An Execution Policy of Unrestricted or RemoteSigned will be necessary for the AssetCloud or InventoryCloud On-Premise installer to properly install.
10. Reboot, Update, and Verify All of the Above
Reboot the PC, and make sure to apply any pending Windows Updates.Once logged back in as a local administrator, verify that all of the above is still correct. In some rare cases, the above changes might not have gone all the way through (particularly if the PC Name was changed, or the IIS Prerequisites didn’t fully install). Verify that this has been done prior to moving forward.
11. Verify the World Wide Web Publishing Service is Running
Open your list of services and verify that the service called “World Wide Web Publishing” shows the status of “Running”. If the status is blank, right-click the service and start it.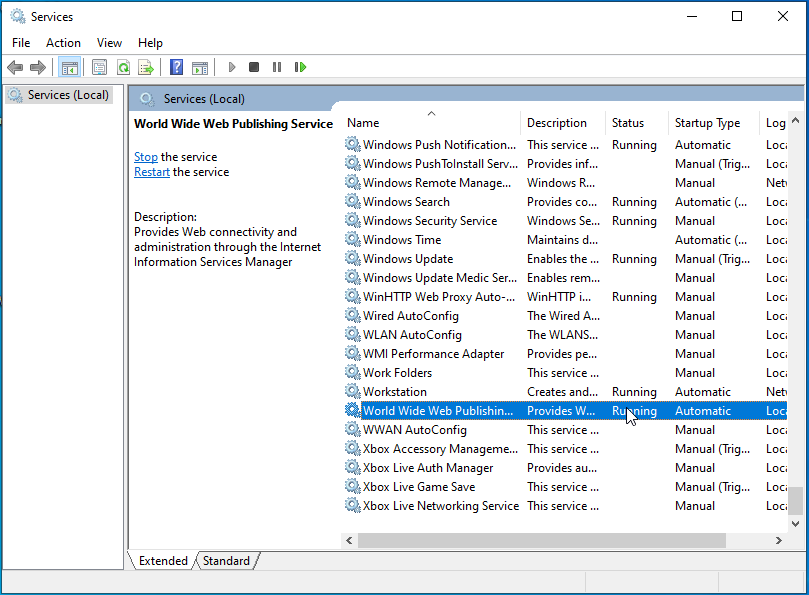
Installing AssetCloud or InventoryCloud On-Premise
1. Where to Install?
Rather than installing on a temporary server, then moving the database to the final server, we recommend performing the installation on the Cloud OP's destination server.
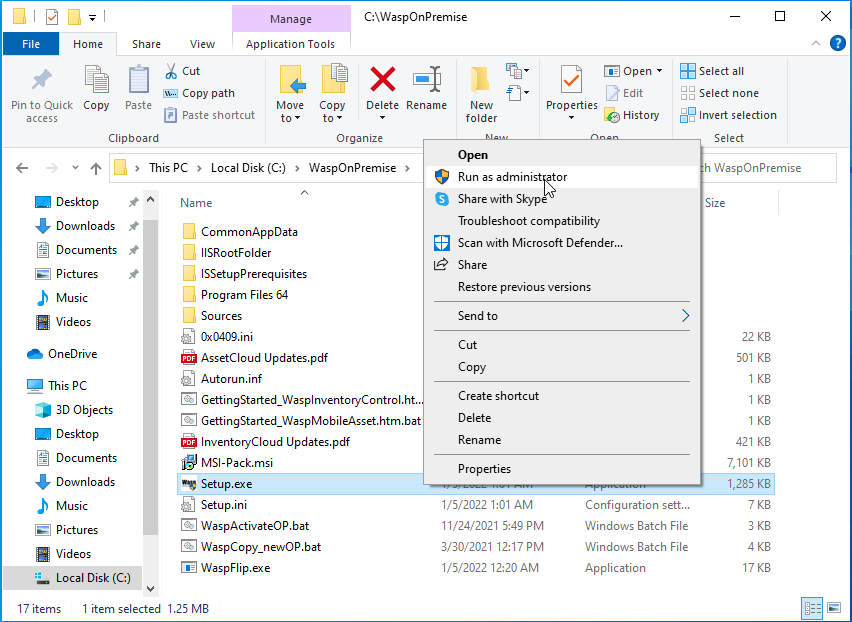
2. Run the Installer as Admin
Navigate to the folder you previously extracted the installer to.If the above directions were followed exactly, this location should be:
c:\WaspOnPremise\
Right-click setup.exe, then Run As Administrator.
3. Initial Installer Prompts You May See
During the install, there will be several components which will need to be installed.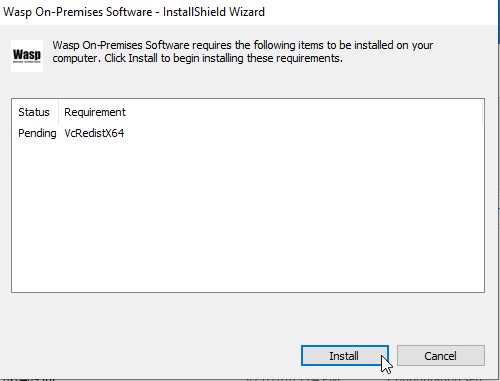
If prompted to reboot, do so.
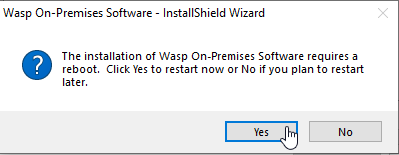
If the installer does not start back up on its own, navigate back to that install path and run the installer as admin again.
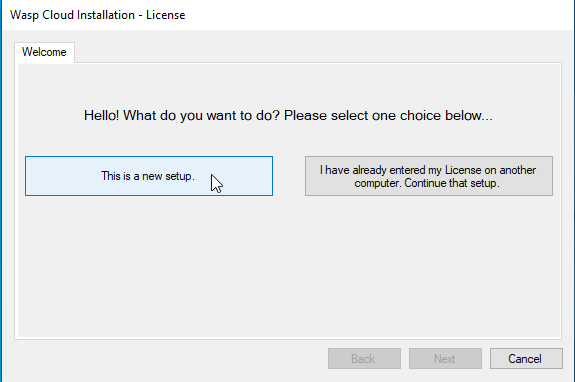
4. This is a new setup.
5. Enter Your License Key
Enter your license key, validate, and select “Next”. Be sure to click in the left side of the License key box. If you click in the middle, the box will run out of space for characters.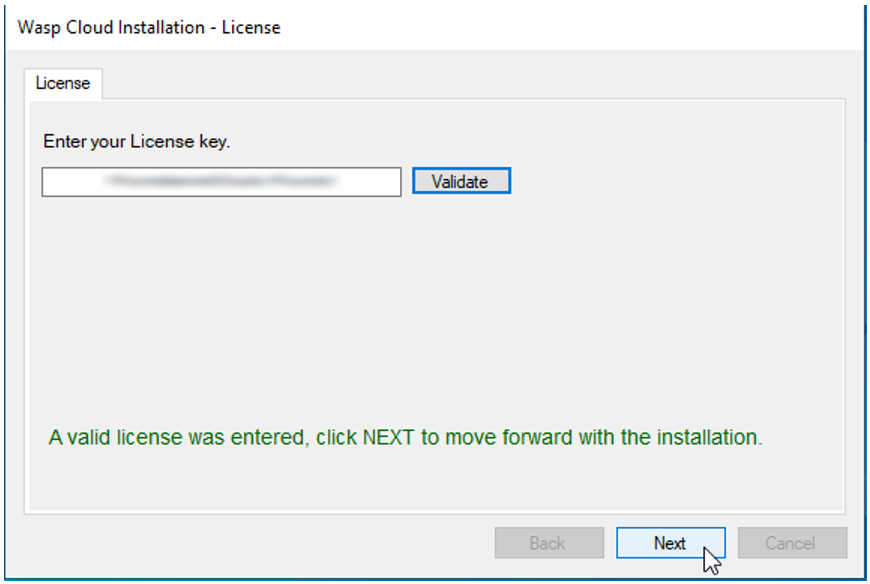
6. Select Express Install
Select Express and then Next.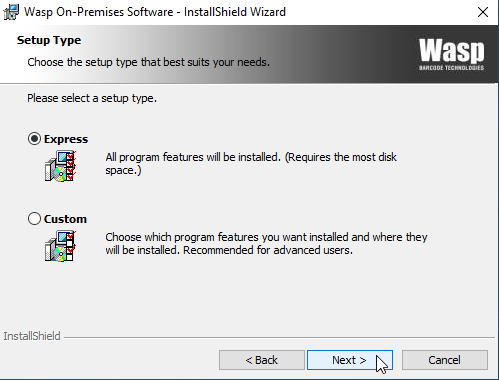
*Note: If you have the Complete Edition, you may choose "Custom", to select the specific components you would like to install, or perhaps to select your own SQL instance. If using your own SQL instance, it must be SQL Server 2016 or newer.
7. Verify Ports
Select “Verify Ports”. If all three ports are available, select “Install”.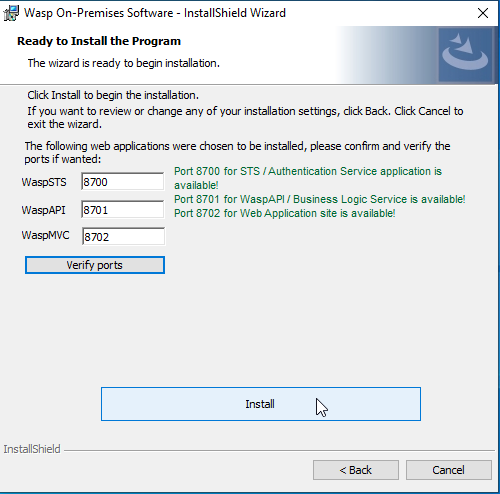
*Note: If you are installing the Complete Edition, you may be presented here with the option to install SQL Express, or to install using your own SQL Instance.
8. Common Sticking Point
If you find that you have been stuck on a screen for a long time, verify that there are no windows that have popped up beneath this, by clicking the title bar and moving it out of the way: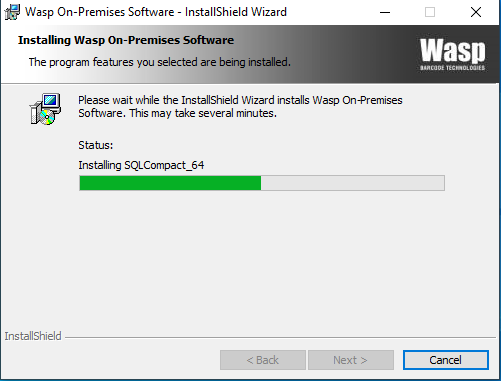
9. Installing SQL Compact 3.5
After several command prompt screens, you will be presented with the installer for SQL Server Compact 3.5. This is used to facilitate communication between the software and Windows Mobile CE devices.
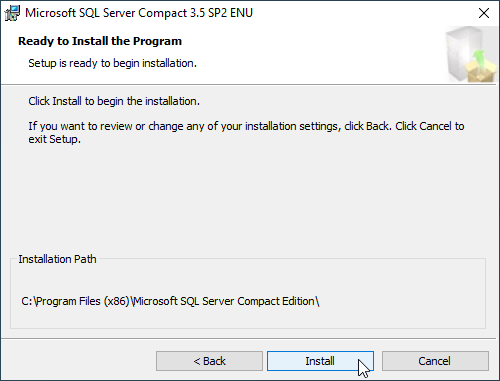
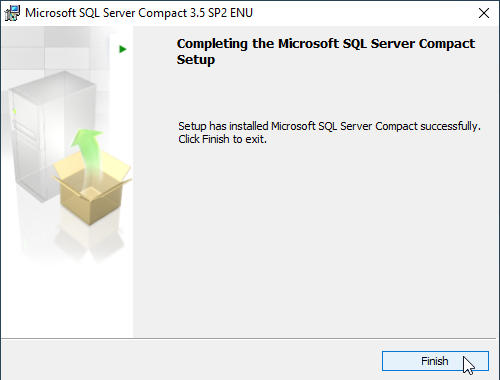
This will happen again for the 64-bit version of SQL Compact 3.5.
10. Installing SQL Express Instance
SQL Server Express should now begin to install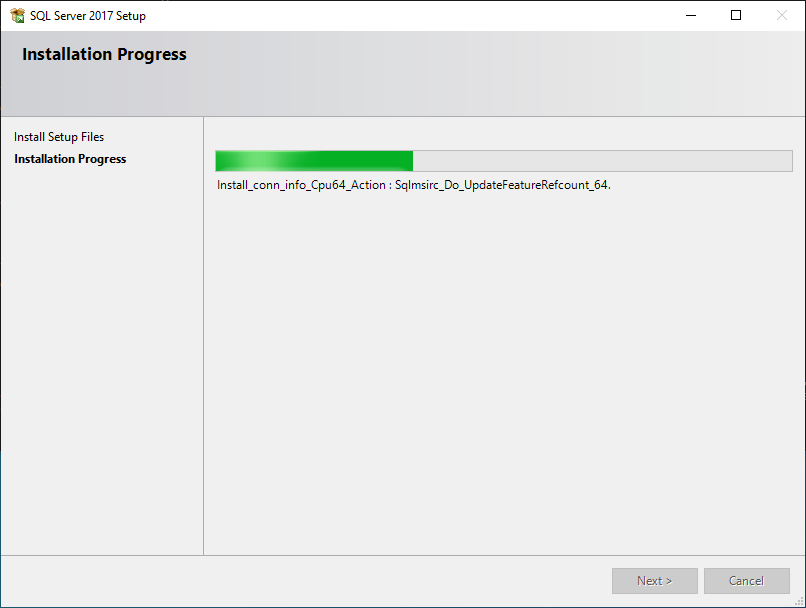
11. Software Validates Itself
At this point, the software will run some checks to validate the install went smoothly. Several progress windows like this will appear as the software validates itself.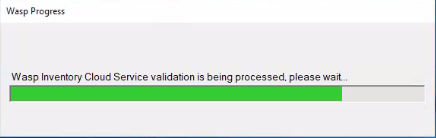
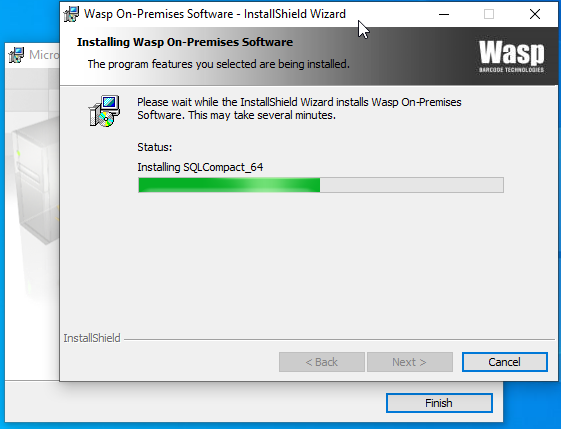
12. Install Finished (keep going after this)
After SQL installs, the install will validate itself. When finished, it will present you with this: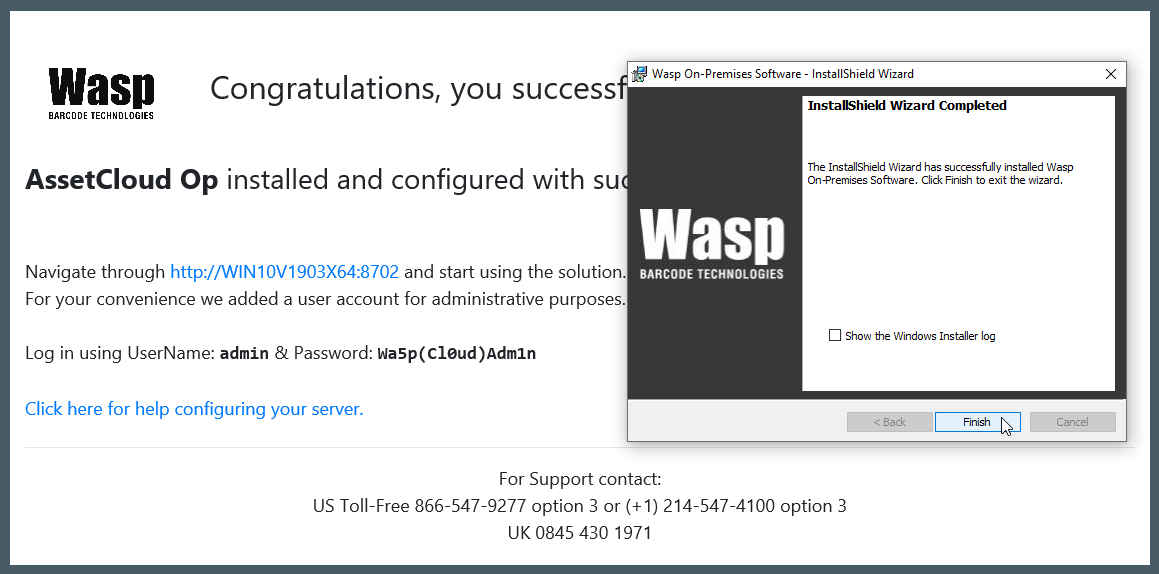
After Installing On-Premise
1. Reboot the PC
After installation is complete, reboot the machine.
2. Set IIS Performance Settings
Use the following performance settings to ensure the web interface will move as fast as possible with your system:https://support.waspbarcode.com/kb/articles/1523
3. Bounce The Services, Sites, and Application Pools
This step is a common troubleshooting step (the equivalent of “Have you turned it off and back on again”). In this case, it is being used to verify that all the sites and services are present and operating as expected.Stop and restart the services and sites, then recycle the application pools, using the instructions in the following article:
https://support.waspbarcode.com/kb/articles/1590
**Note: This easiest way to do this is by creating a BAT file as described in the article. Be sure to use the BAT file which is appropriate to your version number and edition of the software.
4. Validate Everything in the Wasp Config Tool
On your desktop should be a shortcut for the Wasp Config Tool.Otherwise, you can navigate to:
C:\Program Files\Wasp Barcode Technologies\Wasp On-Premises Software\License\configure\Wasp.Installer.Configure.exe
**Note: Always right-click and Run this as Admin.
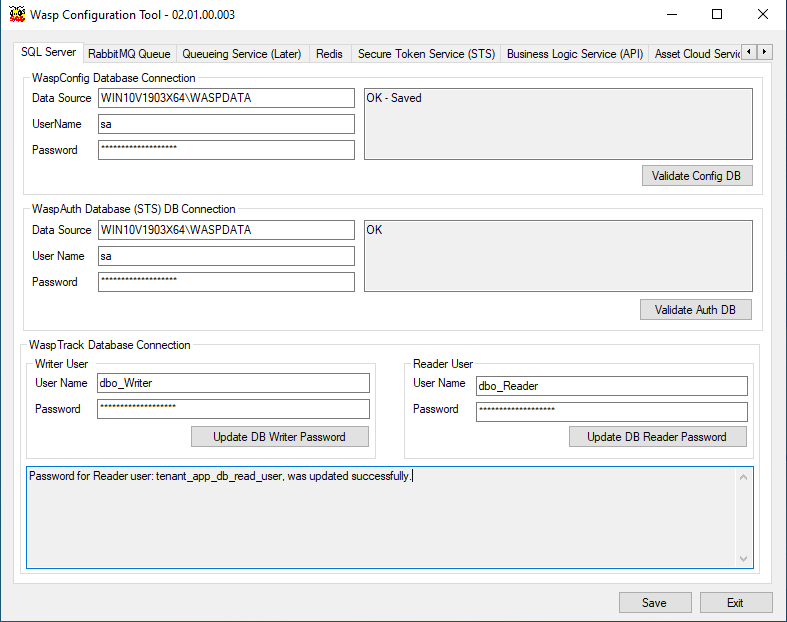
- On the SQL Tab: Validate the WaspConfig and WaspAuth databases
In the bottom section “WaspTrack Database Connection”, copy/paste the Writer and Reader passwords from below into the appropriate box, then click each Update button.
(if there are errors updating these users, click "yes" to fix until the update is successful)
Username: dbo_Writer
Password: db0-Wr1ter_P455w0rd
Username: dbo_Reader
Password: db0_Re4der-P455w0rd
**Note: If you would like to set your own Writer and Reader user credentials, this is where you would do so. - Continue to validate each of the tabs from left to right. Some tabs will not have a validate button; those can be skipped.
- For most users, one tab will be blank, depending on which product is installed. This is expected. For instance, if you have AssetCloud On-Premise (only), the InventoryCloud MVC tab will be blank. If you have InventoryCloud On-Premise (only), the AssetCloud MVC tab will be blank.
- If there are any errors such as “A task was canceled”, wait for 30 seconds and attempt to validate again (this may need to be done several times).
- Once all tabs are validated, save and exit the Wasp Config Tool.
5. Activate Your Product
This will open a new window with a ten-character machine key.
Send the following information for the person you would like the product registered under to techsupport@waspbarcode.com:
Proof of Purchase (receipt or invoice):
Name:
Company Name:
Email:
Phone:
Machine Key:
We suggest sending a screenshot with the machine key for confirmation.
Once Tech Support gets this information, they will respond with an activation key which can be entered on this page. While you are waiting for this key, the software will continue to work as a trial for up to 30 days.
6. Antivirus Exceptions
We do recommend adding the following folders as exceptions in your antivirus software to prevent performance issues or failures caused by critical files being accessed or deleted:C:\Program Files\Microsoft SQL Server
C:\Program Files\Redis-3.0.504-64bit
C:\Program Files\Wasp Barcode Technologies
C:\ProgramData\Wasp Barcode Technologies
C:\inetpub\wwwroot\WaspAPI
C:\inetpub\wwwroot\Wasp_AC
C:\inetpub\wwwroot\Wasp_IC
C:\inetpub\wwwroot\WaspSTS
**Note: Depending on which product you installed, you will be missing the RabbitMQ, Wasp_AC, or Wasp_IC folder. This is expected.
7. Adding Additional Users and SMTP Settings
The following article covers the process for adding your SMTP settings to send out new user invites, and alternately, how to add users without using SMTP:https://support.waspbarcode.com/kb/articles/1571
8. Adding an Additional Binding in IIS for your IP Address
Mobile devices (such as the DR5, HC1, or your Mobile Phone) often have difficulty resolving PC Names across a domain. For this reason, we recommend adding an additional binding for your IP Address into IIS, and using this IP address as your Service URL on the mobile devices:https://support.waspbarcode.com/kb/articles/1532
**Note: If you’re not using a mobile device, you can skip this step.
9. You're All Done!
You have successfully installed Cloud On-Premise10. Note on Sample Data
The software installs with sample data already populated in the database. The intent of this is to allow users to begin exploring the software immediately with examples. When you are ready to use your own data, be sure to reset all data to get you to a blank slate. This can be done by navigating to: Settings > Reset > Erase All Data.It is important not to skip this step, because failure to do so will result in this sample data showing up in your reports and audits.