When using the DiagTool (see Related Pages below) to calibrate the printer to the label size, should I select Gap or Black Line? The answer depends on which kind of printer you're using.
WPL305, WPL205, WPL304, and other desktop printers with a black line sensor:
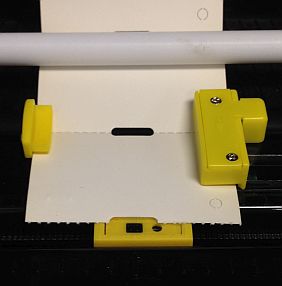
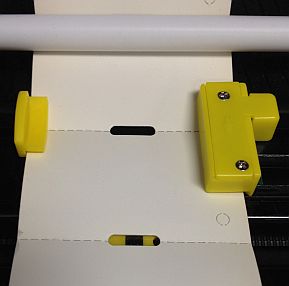
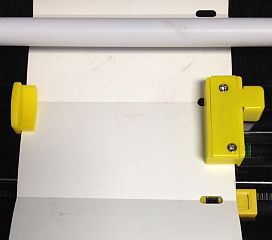
Black line. Position the black line sensor so the black rectangle can see the gap.
Usually DiagTool is able to perform the auto-calibration by selecting Black Line in the calibration dialog. However, if an Out Of Paper error is reported after that: On DiagTool's main screen, change the Media Sensor setting to Black Mark, click the Set button, then do the auto-calibration again (with Media Type set to Black Mark).
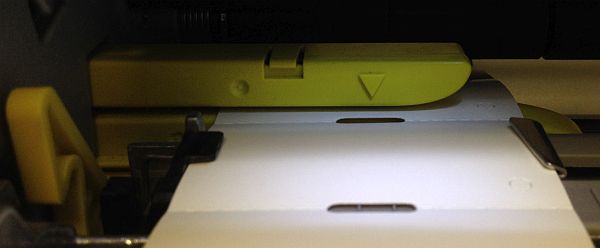
WPL612, WPL610, WPL608, WPL406, and other industrial printers with only a gap sensor:
Gap. Position the gap sensor so the triangle/arrow points at the gap. The sensor moves from side to side; reach in from the right, below the sensor to find the tab/handle for positioning it.
Note: If you get Paper Jam errors, try switching to Black Mark.