This article applies to: PreciseTime
Issue: Before running reports, the Report Parameters display the different filters that have been designed into the report. However, Employee is missing as a report parameter. This article describes the process for adding a filter to a PreciseTime report so that it can be filtered by Employee Number after the report has been run.
How to Add an Employee Number Filter to a Report
Once the filter has been added, you can:
- Navigate to: Report > All Reports
- Select the desired report, then “Design Report”
In this example, we will be editing the Weekly Timecard Report - Make Note of the Data Source
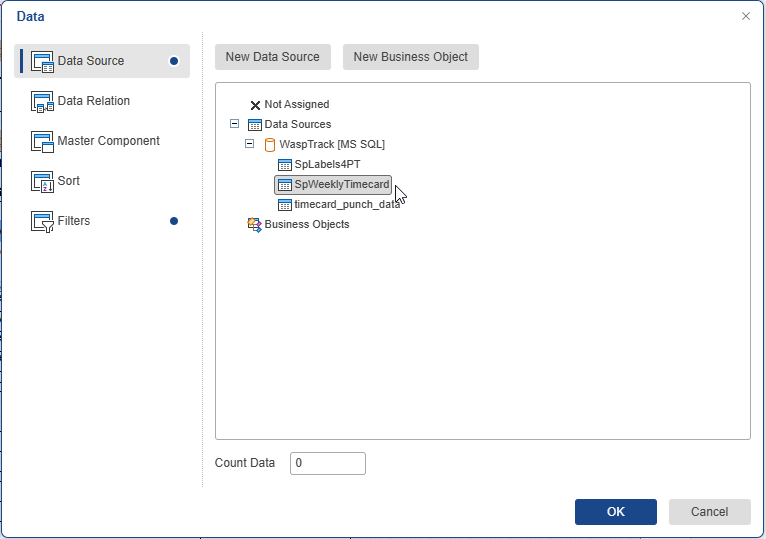
Double click on the blue data band in the middle of the report
Under “Data Source” make note of the selected Data Source.
In this example it is: SpWeeklyTimecard
You can then select “OK” to close this dialog.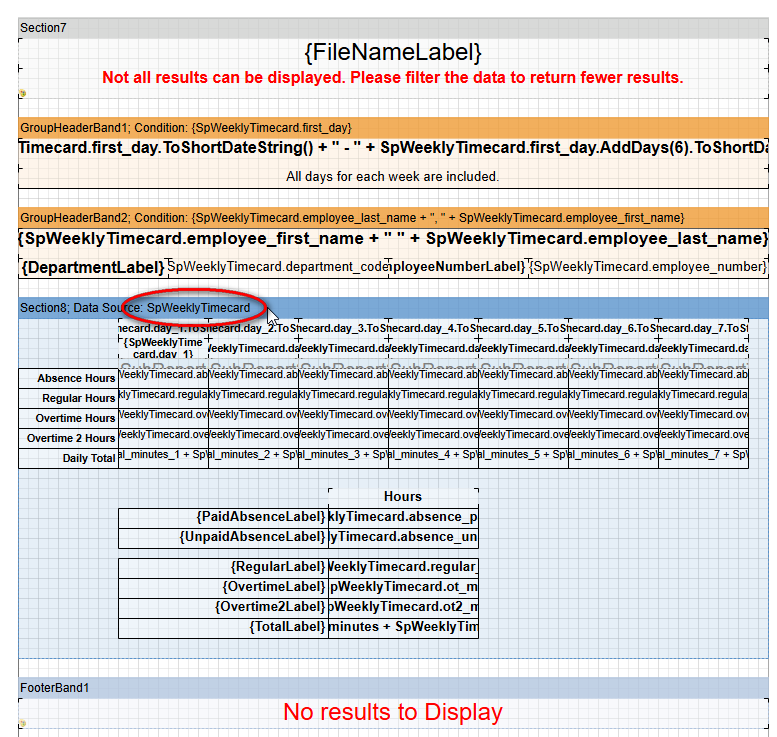
- Create a New Filter Variable
In the lower left, select “Dictionary”, then right click “Variables, and select “New Variable”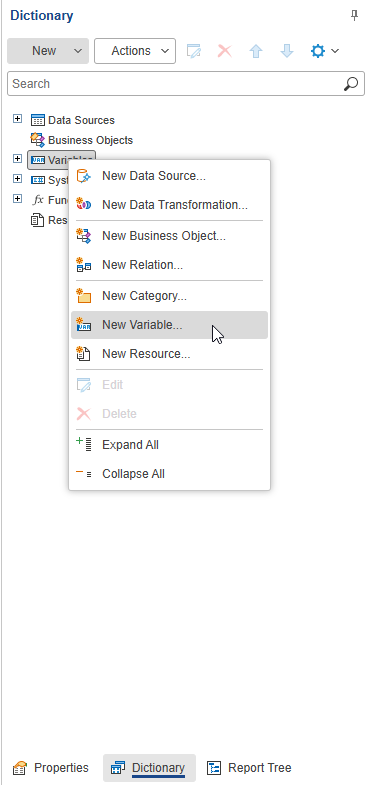 Set the Name and Alias to “Employee” Check “Request from User”
For Data Source, choose “Data Columns”
Set Keys to “SpWeeklyTimecard.employee_number”
Then select “OK” to finish creating this variable.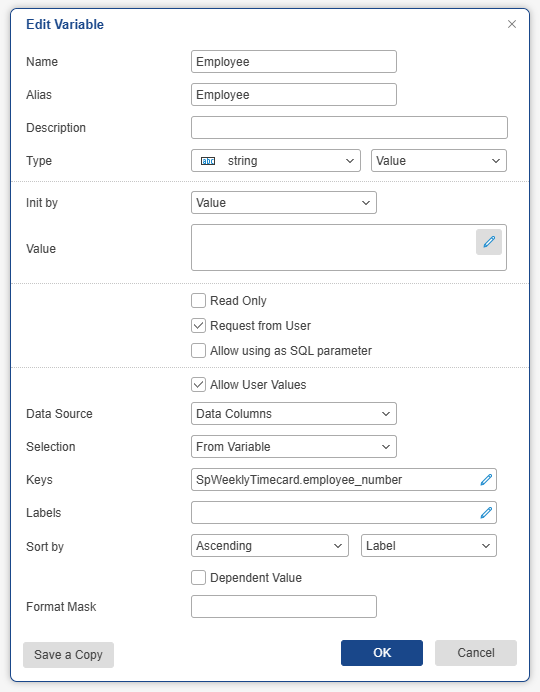
Note how our data source was SpWeeklyTimecards, and this expression uses the employee_number field within that same data source. - Add the Filter to the Blue Data Band
Double click the blue databand
Select “Filters” on the left
Then select “Add Filter”.
For “Field Is” choose “Expression”
And use this expression:
SpWeeklyTimecard.employee_number.Contains(Employee)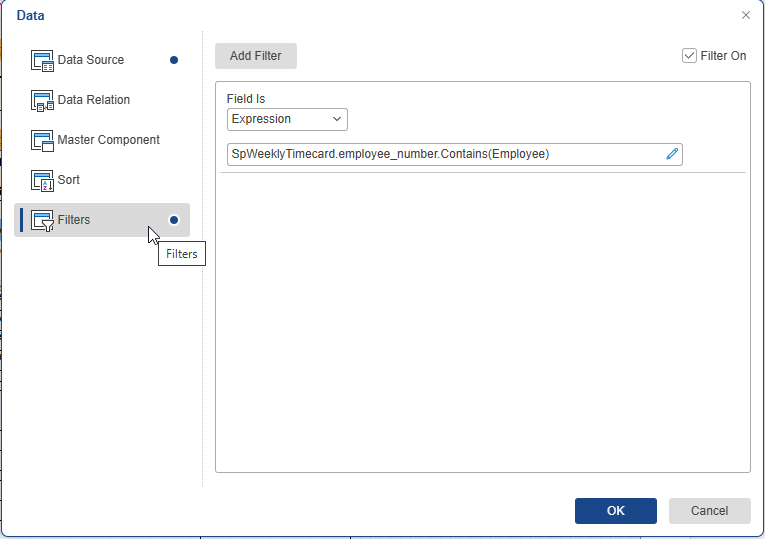
Note how our data source was SpWeeklyTimecards, and this expression uses both that same data source, and the Employee variable that we created - Save the report
Choose File > Save as, and give the report it’s own name.
Example: Weekly Timecards by Employee - You should now be able to run the report and filter the results.
*Note: The expressions in the instruction above have you make note of the data source. If you wish to add this kind of filter to other reports, the data source may be different.
How to Use the Employee Number Filter
Once the filter has been added, you can:
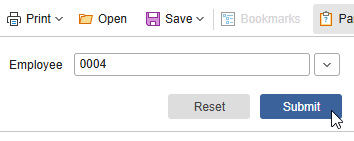
- Run the Report
- Select the employee Number in the upper left
- Select “Submit”
This should show the new filtered results