

Below is the step by step instructions for performing an Audit in InventoryCloud using the web interface. For steps to perform an audit on a mobile device see related content below
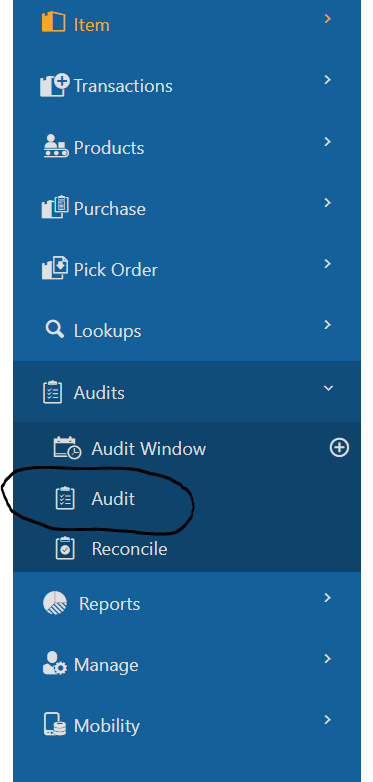
1. On the left hand side choose Audit
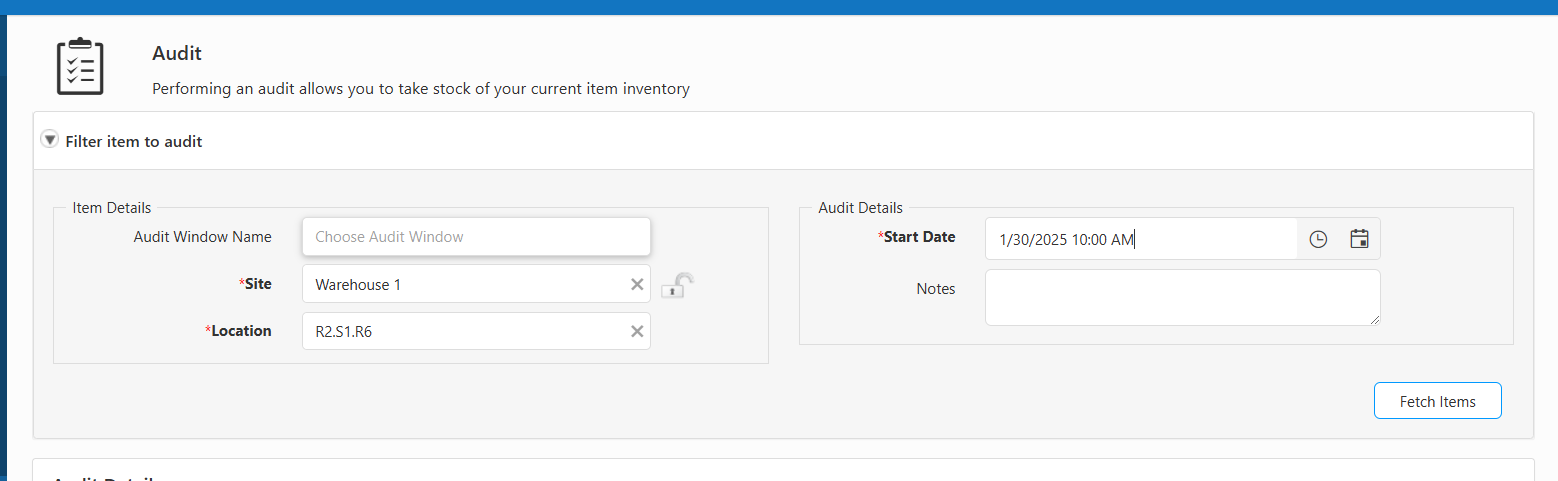
2. Enter your Site and Location then click on Fetch Items
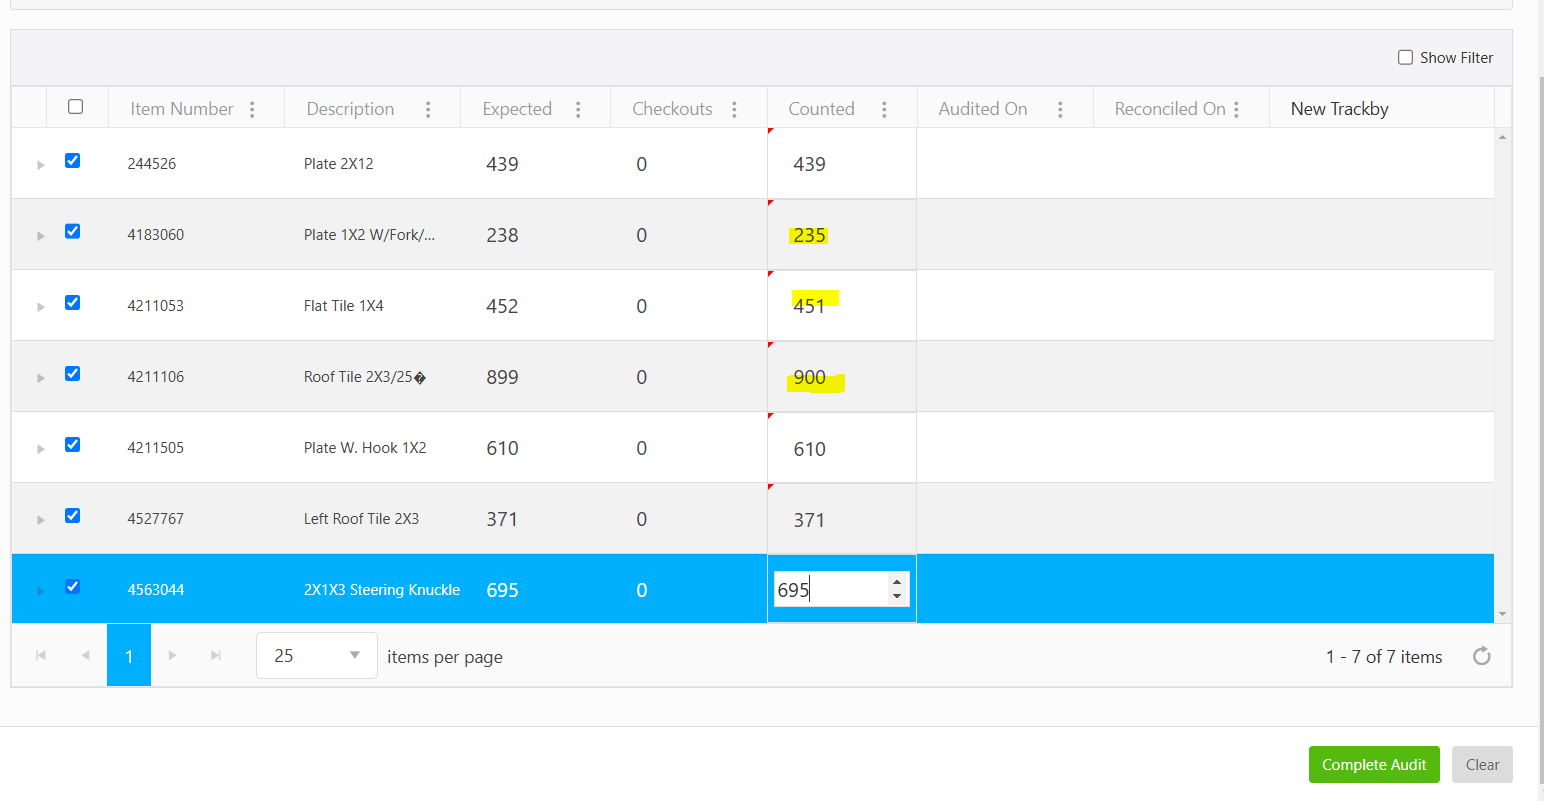
3. Select your item and enter your count
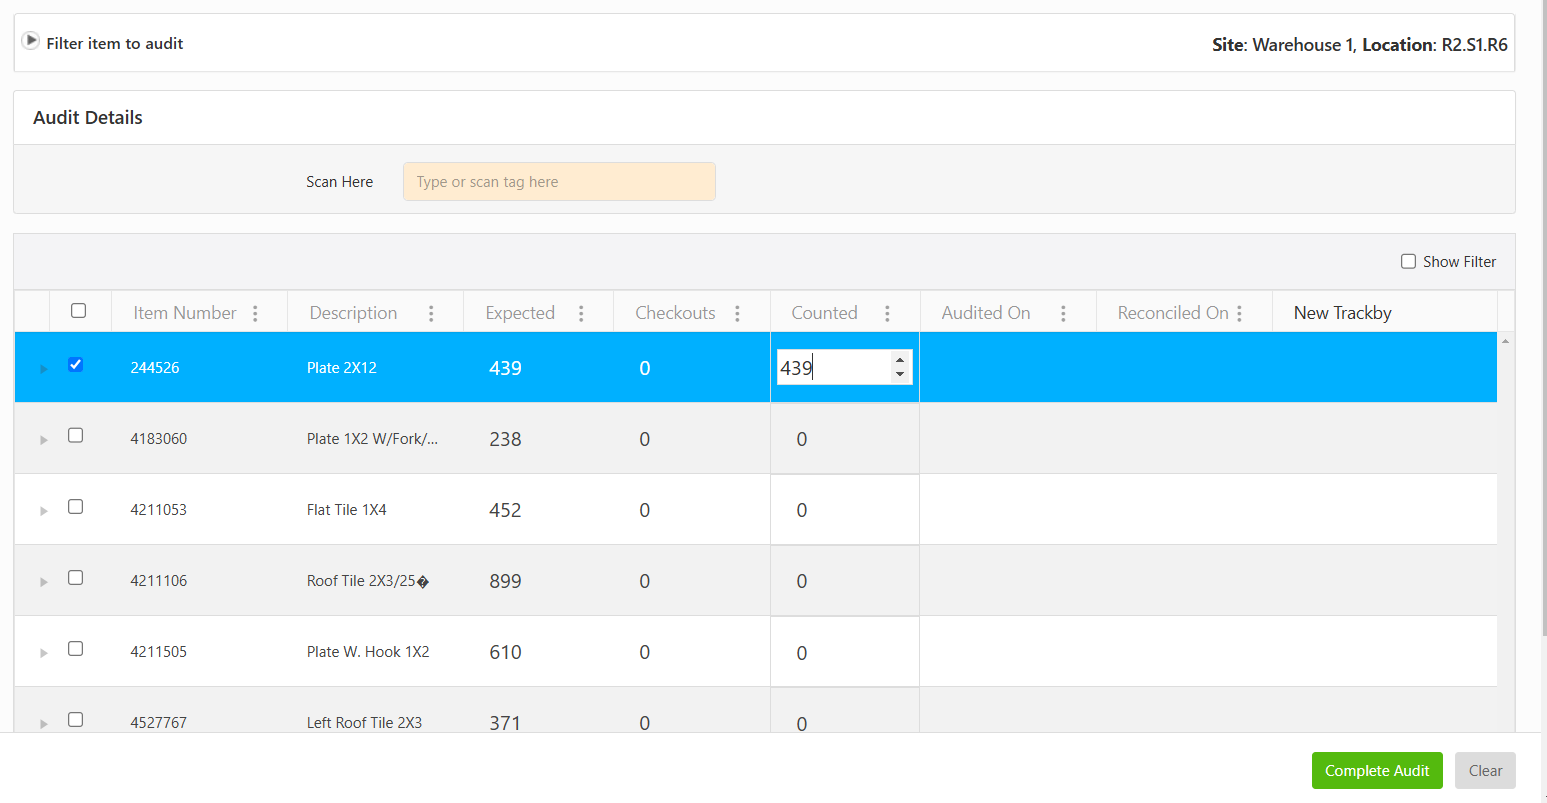
4. Click on Complete Audit (note any differences in your count)
5. Click on Reconcile on left hand side
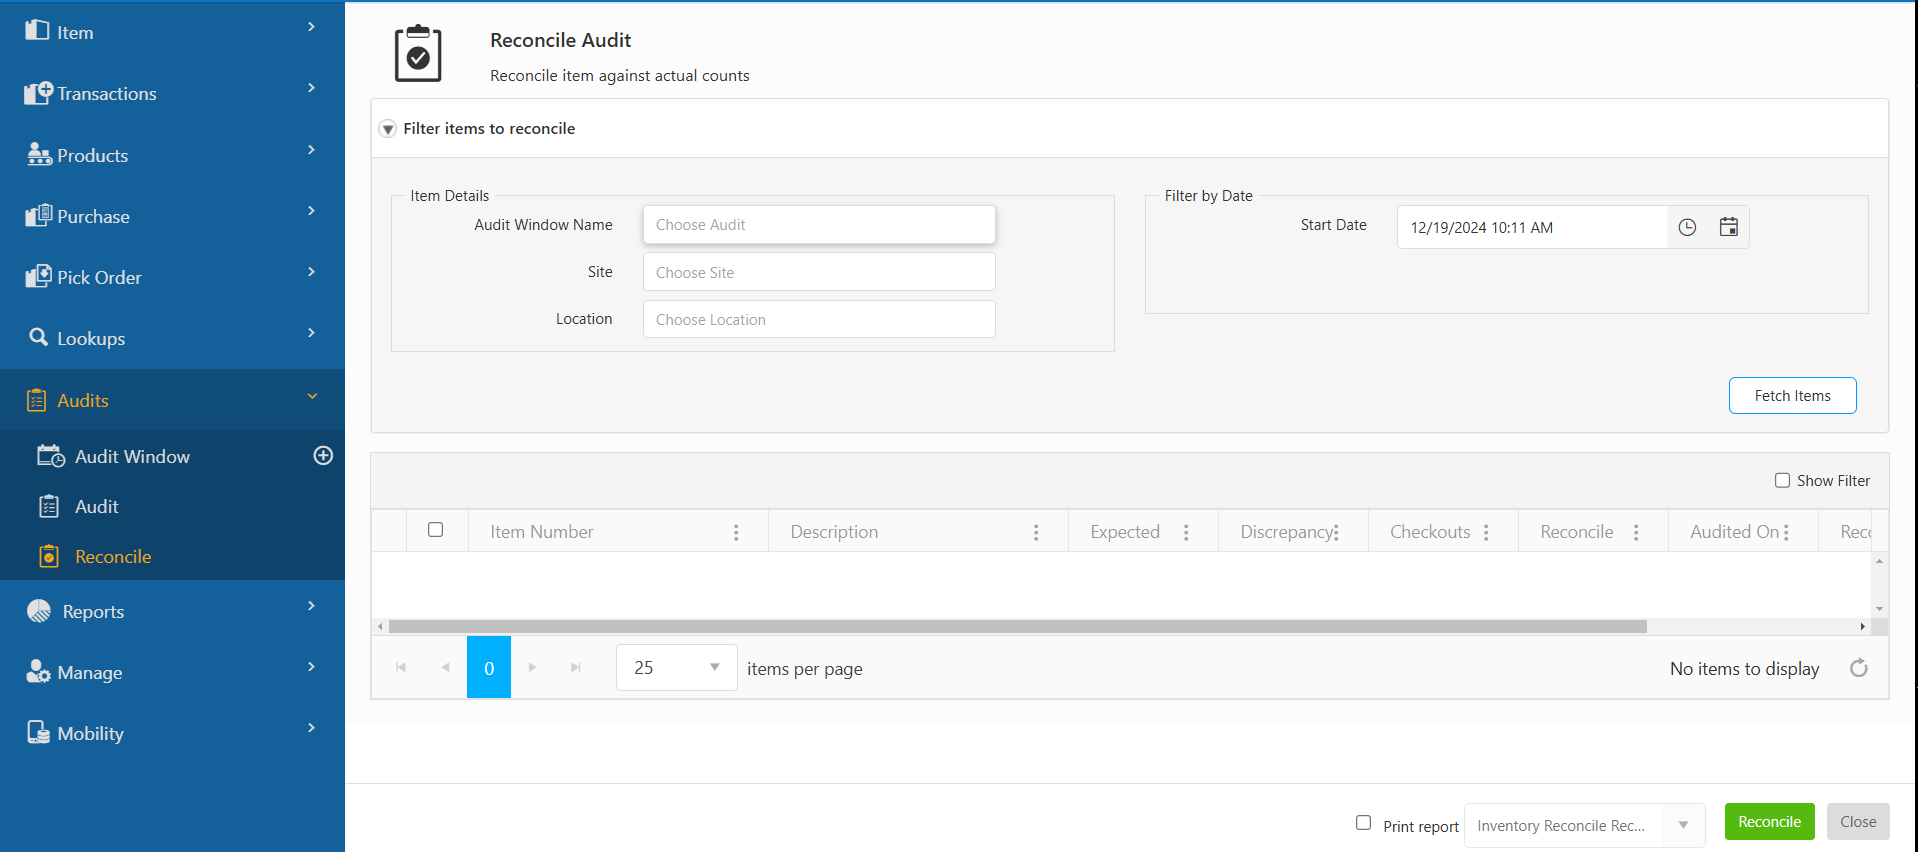
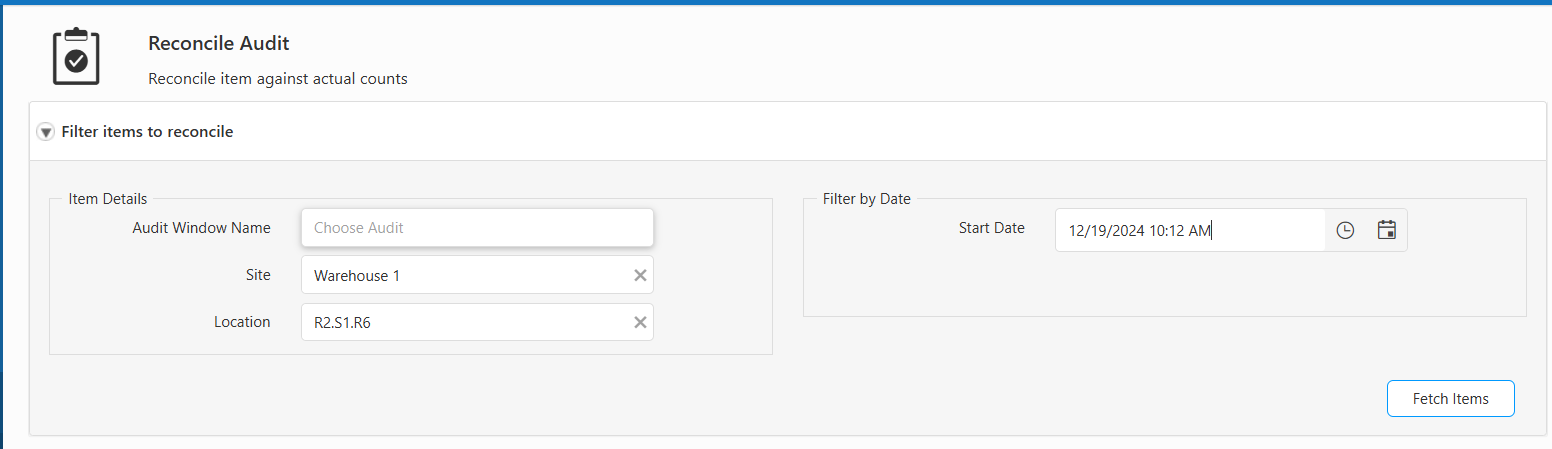
6. Enter the Site and the Location then click on Fetch Items
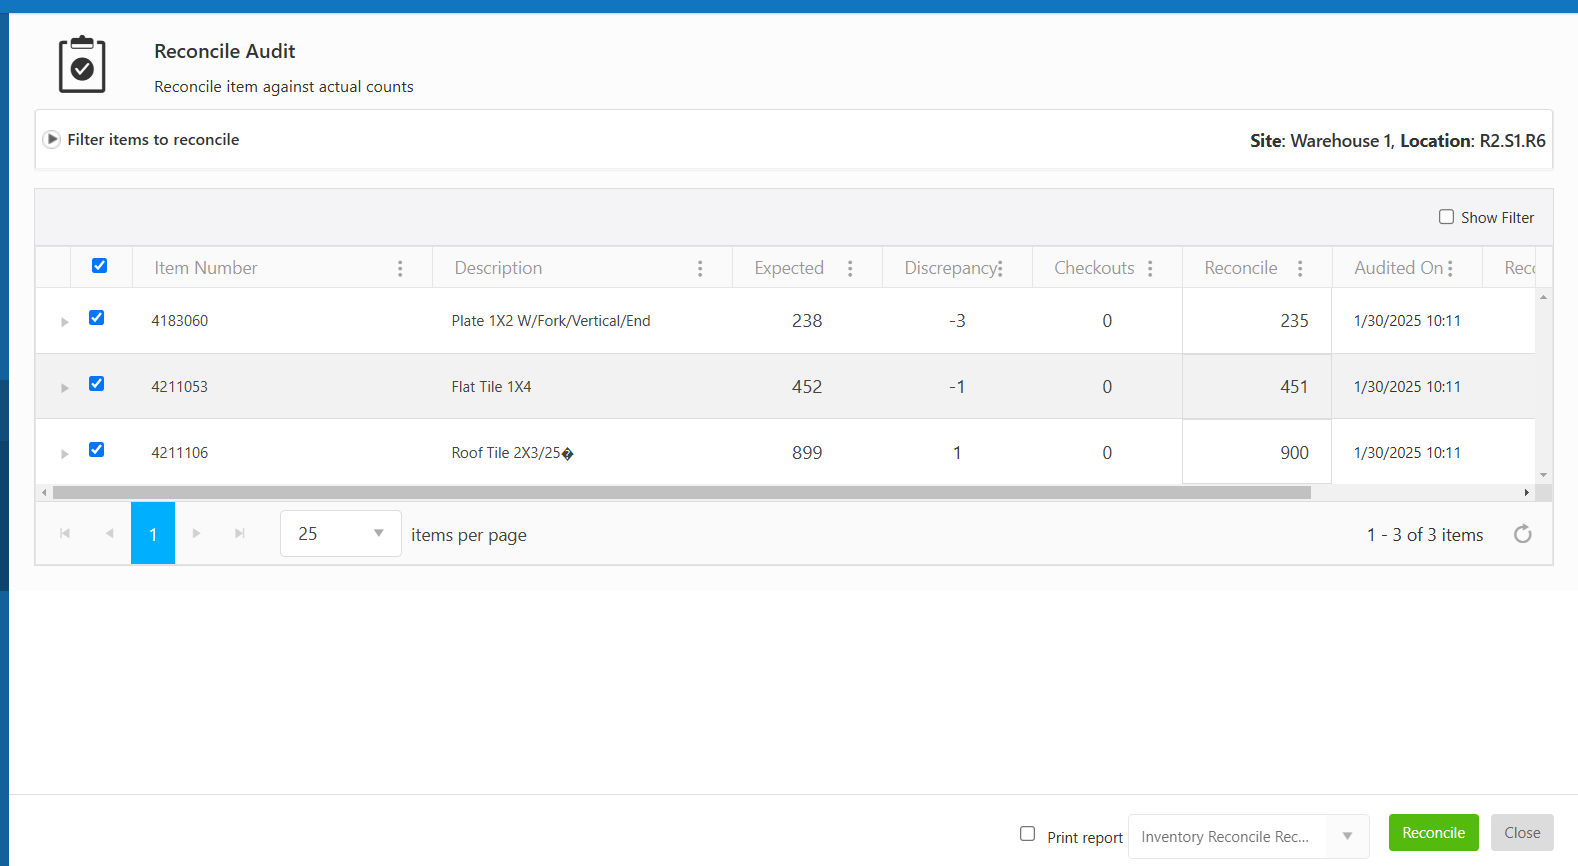
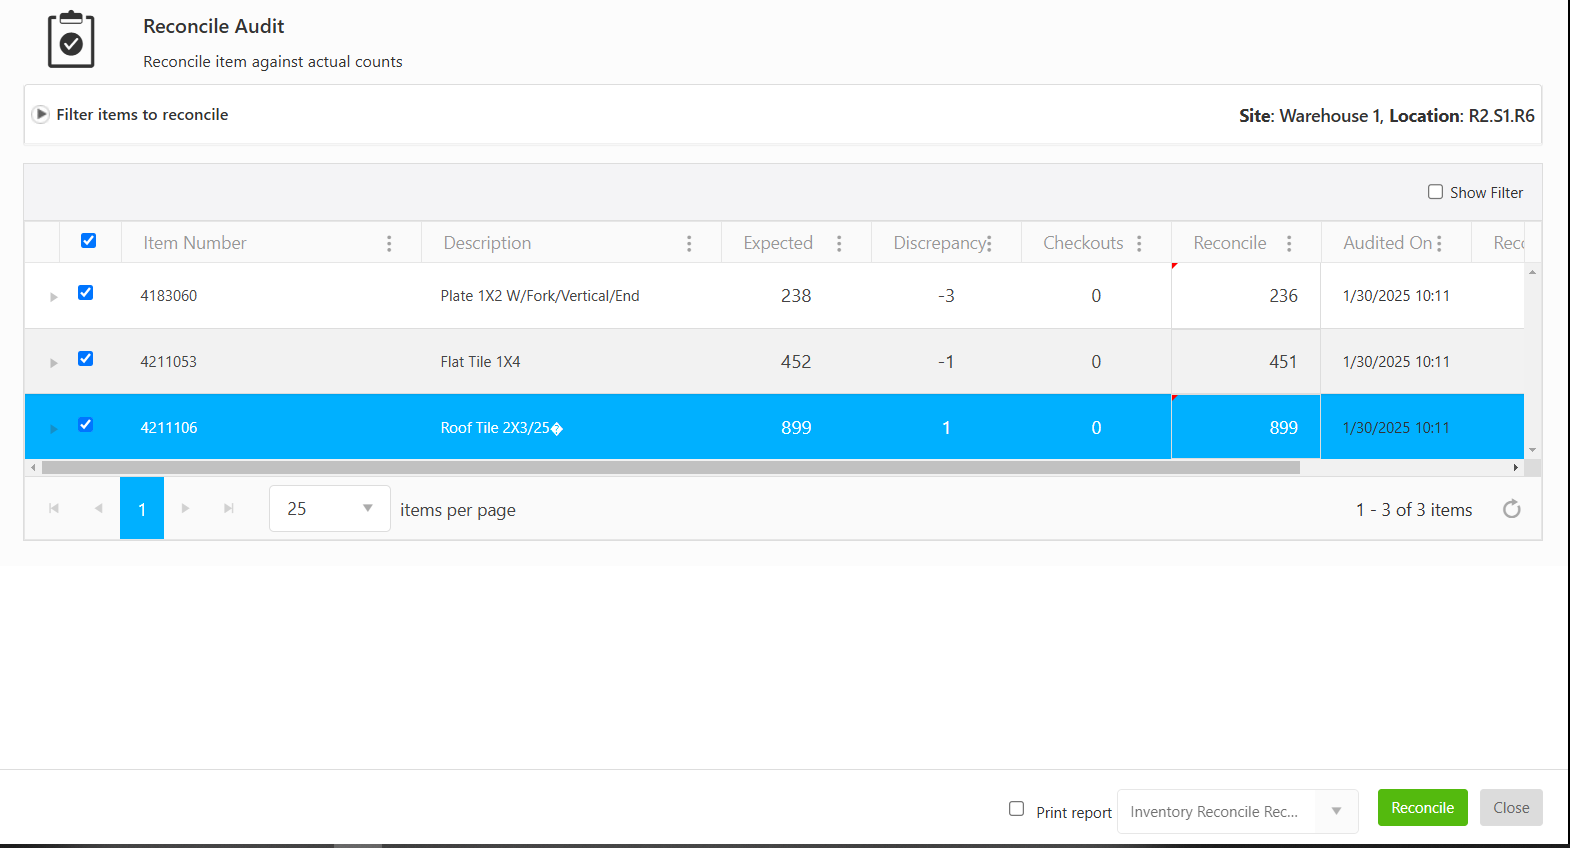
7. Any discrepancies that were in your audit will show up here. If your inventory counts are correct you will not have any items show up
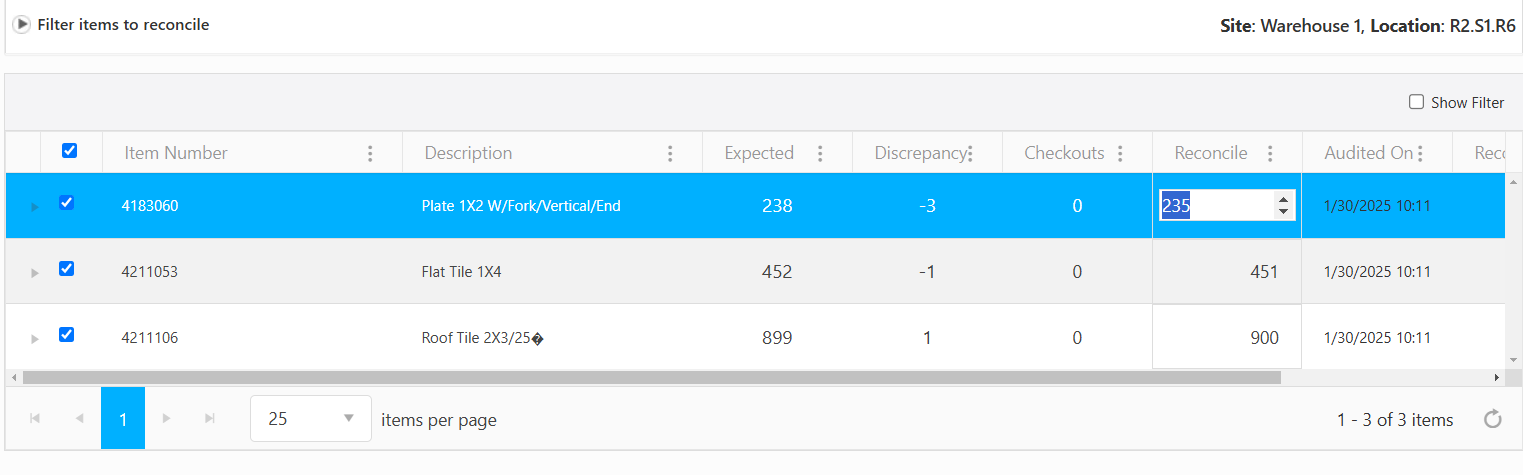
8. If you wish to make any changes to the totals, click on the reconcile box and make your corrections.
9. Once you have made any changes or accepted the counts click on Reconcile at the bottom of the screen. This will adjust your inventory by the count shown in the reconcile screen. Any box unchecked on the left will remain unreconciled.
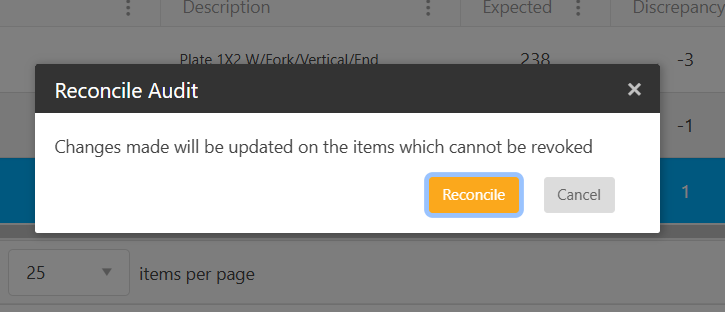
There will be a popup message, click on Reconcile
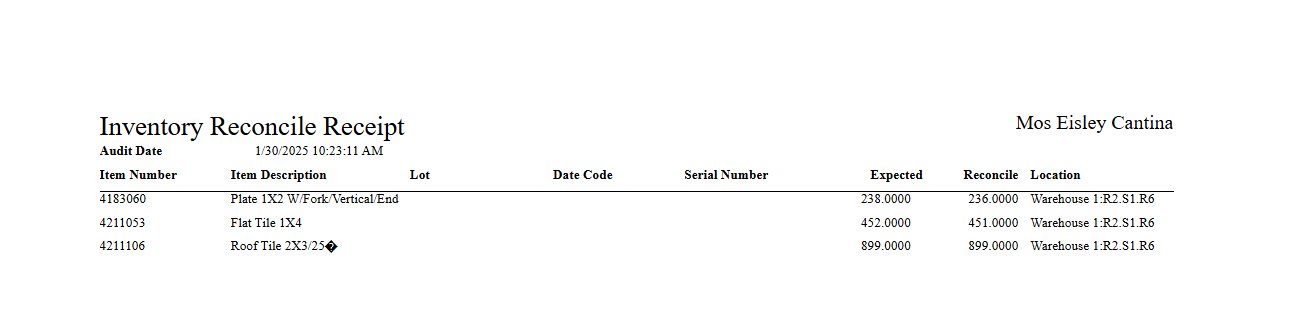
10. If checked to print report at the bottom of the screen a report will be generated after you click on Reconcile
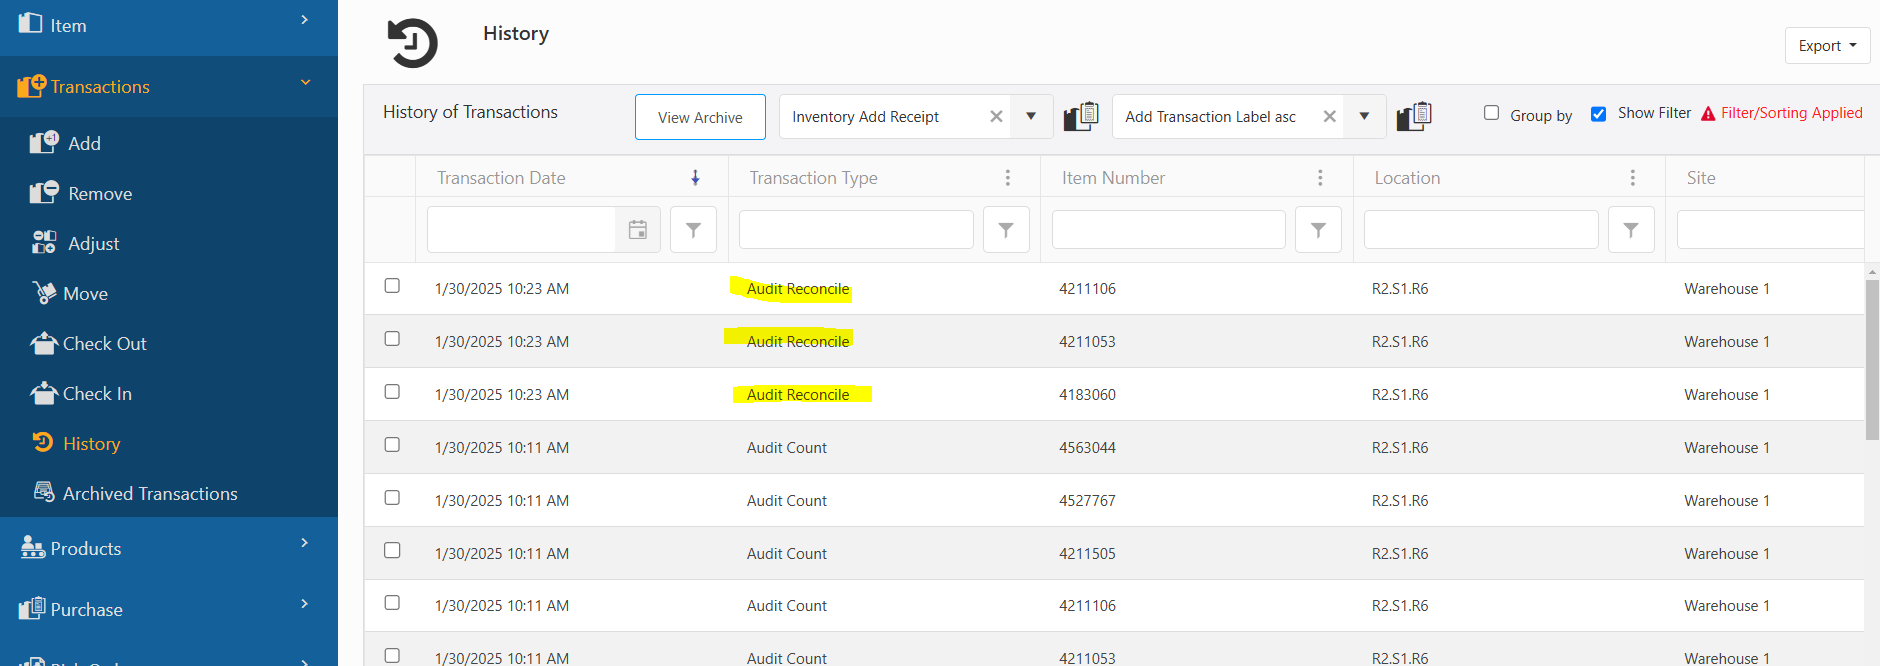
11. The Transaction History will also show that your inventory has had an audit reconcile
Related Content
For performing an audit on a mobile device click the link below
https://support.waspbarcode.com/kb/articles/1877