

After successful installation of AssetCloud On-Premise or InventoryCloud On-Premise, if you need to change the port number(s) of AssetCloud On-Premise, InventoryCloud On-Premise, Secure Token Service (STS), and/or Business Logic Service (API), here is the procedure.
If you want to change to https (secure web browsing), install your certificate into IIS before continuing.
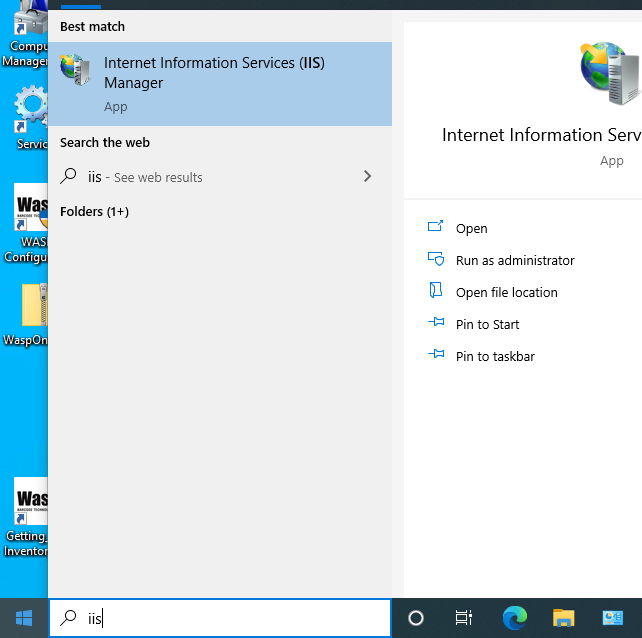
1. In Internet Information Services (IIS) Manager
 A. Expand Sites
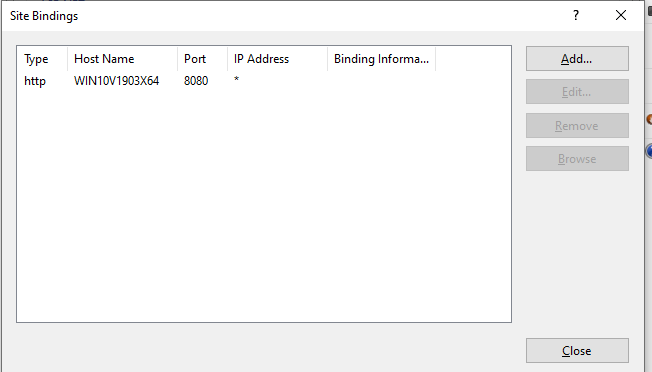
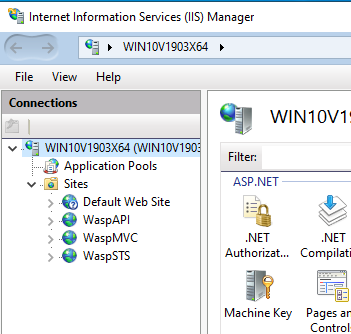 B. Right-click the site you want to change, and select Edit Bindings. It will display 1 row with the default port.

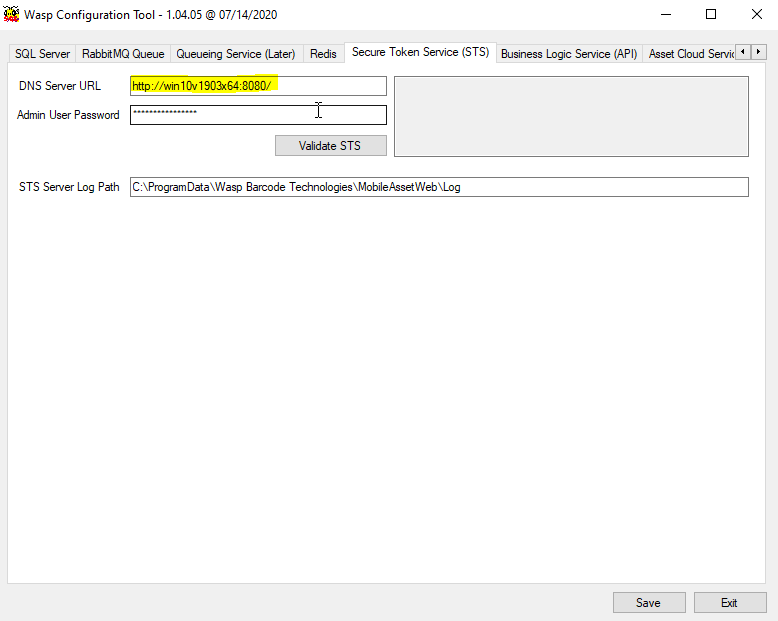
WaspSTS = Secure Token Service (STS, default port 8080)
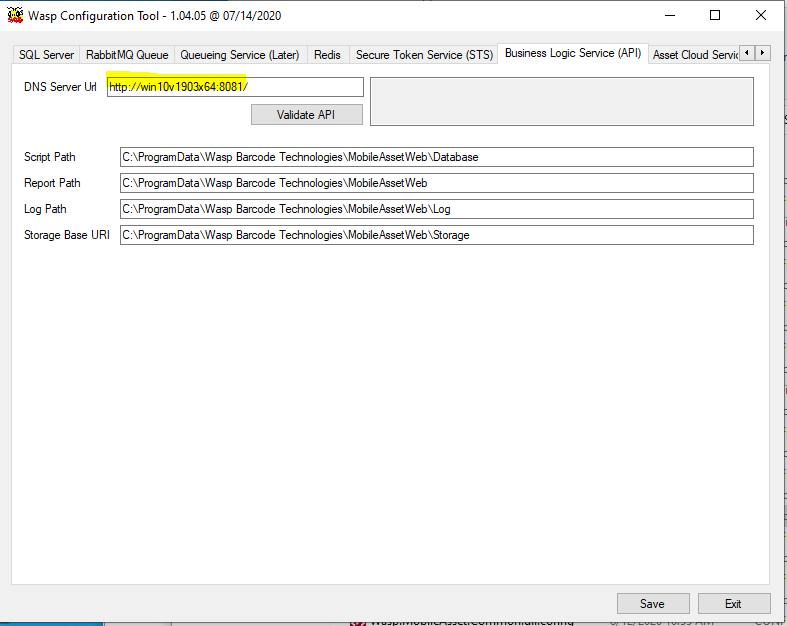
WaspAPI = Business Logic Service (API, default port 8081)
WaspMVC is one or the other of:
Asset Cloud Service (MVC, default port 8082)
Inventory Cloud Service (ICMVC, default port 8083)
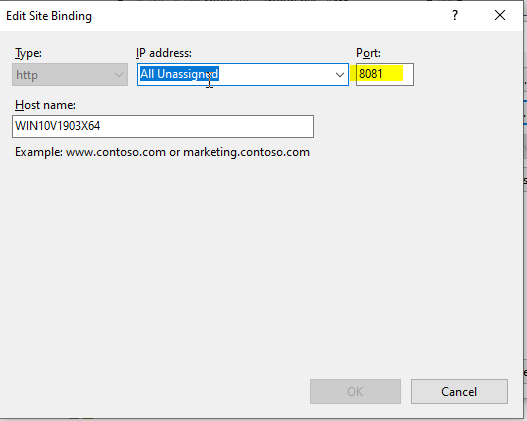
Click to select that line, then click Edit. Change the port number to the new value and click OK, then Close. Note that if you want to use port 80, you will need to right-click on Default Web Site and select Stop to prevent it from conflicting.
If you have added a certificate for secure browsing, you will need to add a new binding of type https. The port number automatically sets to the default of 443. Set the SSL certificate from the dropdown list. (See note in Step 2.)
If you are changing the port for more than one service, change them all in IIS Manager before proceeding. Do not close out of IIS Manager at this time.
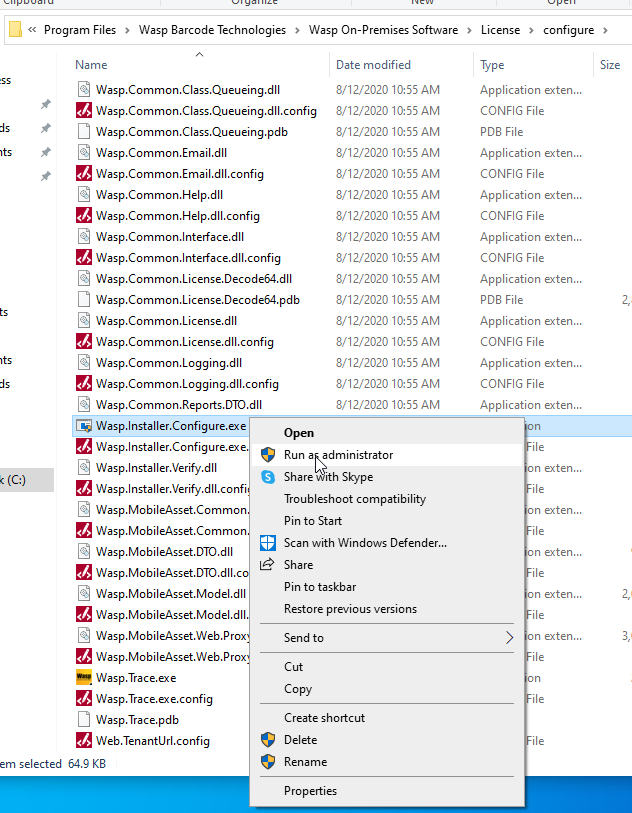
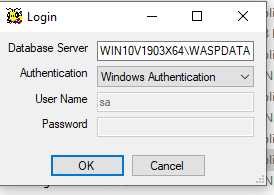
2. After the port numbers have been changed, they need to be validated. Run the Wasp Configuration Tool as Administrator and log in with Windows Authentication. Path to WCT:
C:\Program Files\Wasp Barcode Technologies\Wasp On-Premises Software\License\configure\Wasp.Installer.Configure.exe
Each service has a tab that needs to be clicked into (refer to the list above). Change to the new port number in each service's URL field. Note: Do not change anything else; leave the colon : and slash / characters intact. After each change, click the Validate button. The expected success dialog contains "The following values were successfully tested". If you receive an error message, the problem must be corrected before proceeding. For instance, if you try to change the port number in WCT before changing it in IIS Manager, you would receive "An error occurred while sending the request."
Note for https: When specifying the MVC Server Url or ICMVC Server Url, use https and don't put the :443 at the end. Specify the exact server name as listed in the certificate (which is usually more than just the PC name). Example:
https://assetserver.example.com
The Cloud On-Premise system will only respond to the Server Url that has been validated on the MVC or ICMVC tab. So if you have opened an internet path to your URL and validated that, the internal URL will no longer work (even though the internal name is valid).
When all the desired ports on their tabs have been changed and validated successfully, click the Save button at the bottom to write the changes to the system.
3. Switch back to IIS Manager. For all 3 sites (WaspAPI, WaspSTS, and WaspMVC), right-click, Manage Website, Stop. Then start them (right-click, Manage Website, Start) in this order: WaspSTS, WaspAPI, then WaspMVC. (Do this for all 3 sites even if you didn't change all 3 ports.)
4. Confirm the system is operational: Reopen the site (using the new port number if you changed WaspMVC) in the web browser. You should be able to log into the site and access your data.
5. This procedure does not update the shortcut placed on the original installer user's desktop. If that shortcut is used regularly, you can update that manually in the shortcut's properties.